What’s involved
This is structural work, not a glazing swap, and it’s worth understanding what you’re buying.
1. Survey and structural calculations
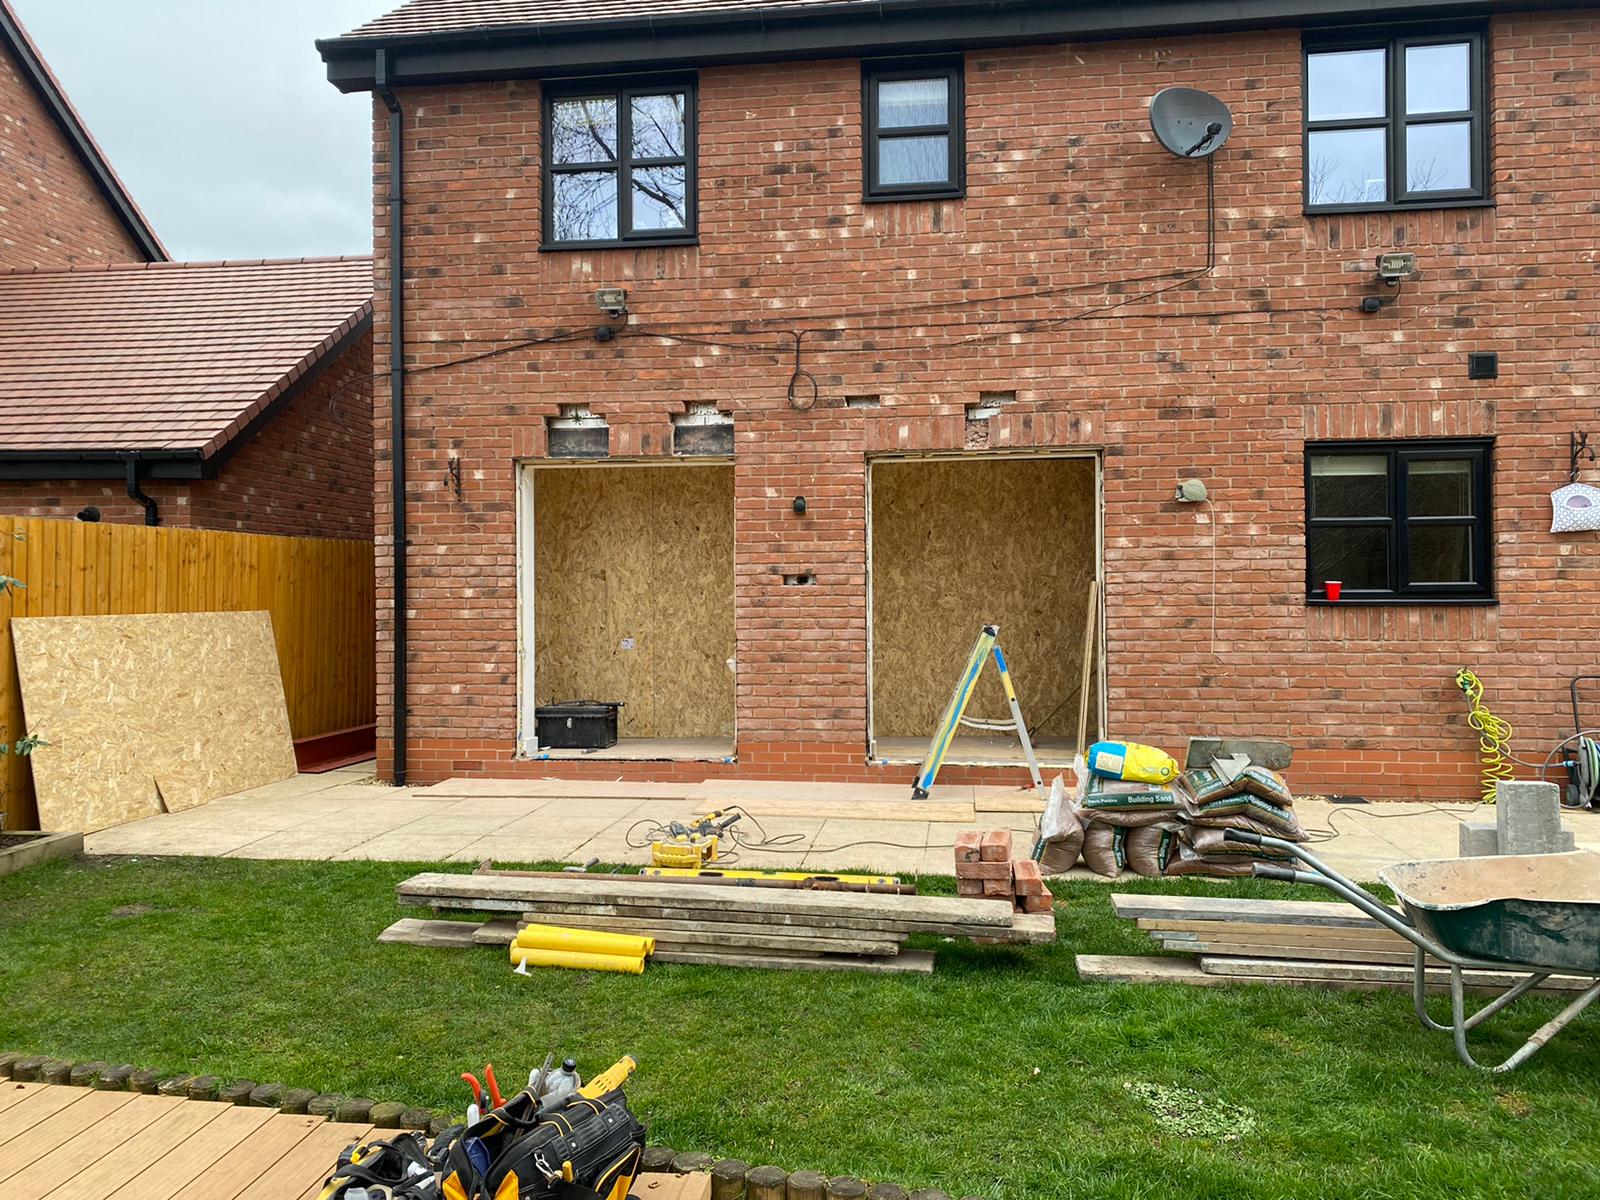
We measure the existing opening, check what’s above it, and establish what the wall is carrying. A structural engineer produces calculations for the beam that will span the new, wider opening. This is not optional and it’s not something to skip — the wall above the window is holding up floor joists, a roof, or both.
2. Propping and beam installation
The load above the opening is taken on temporary props while the existing lintel comes out and the new steel goes in. The beam is sized from the engineer’s calculations, seated on padstones at each end to spread the load into the masonry, and fire-protected. This is the day that makes noise and dust. It’s usually one day.
3. Forming the opening
The masonry below the window — the spandrel panel — comes out down to the finished floor level, and the reveals are squared up and rebuilt. The threshold is prepared, including a drainage detail so water runs away from the door rather than sitting against it.
4. Doors in
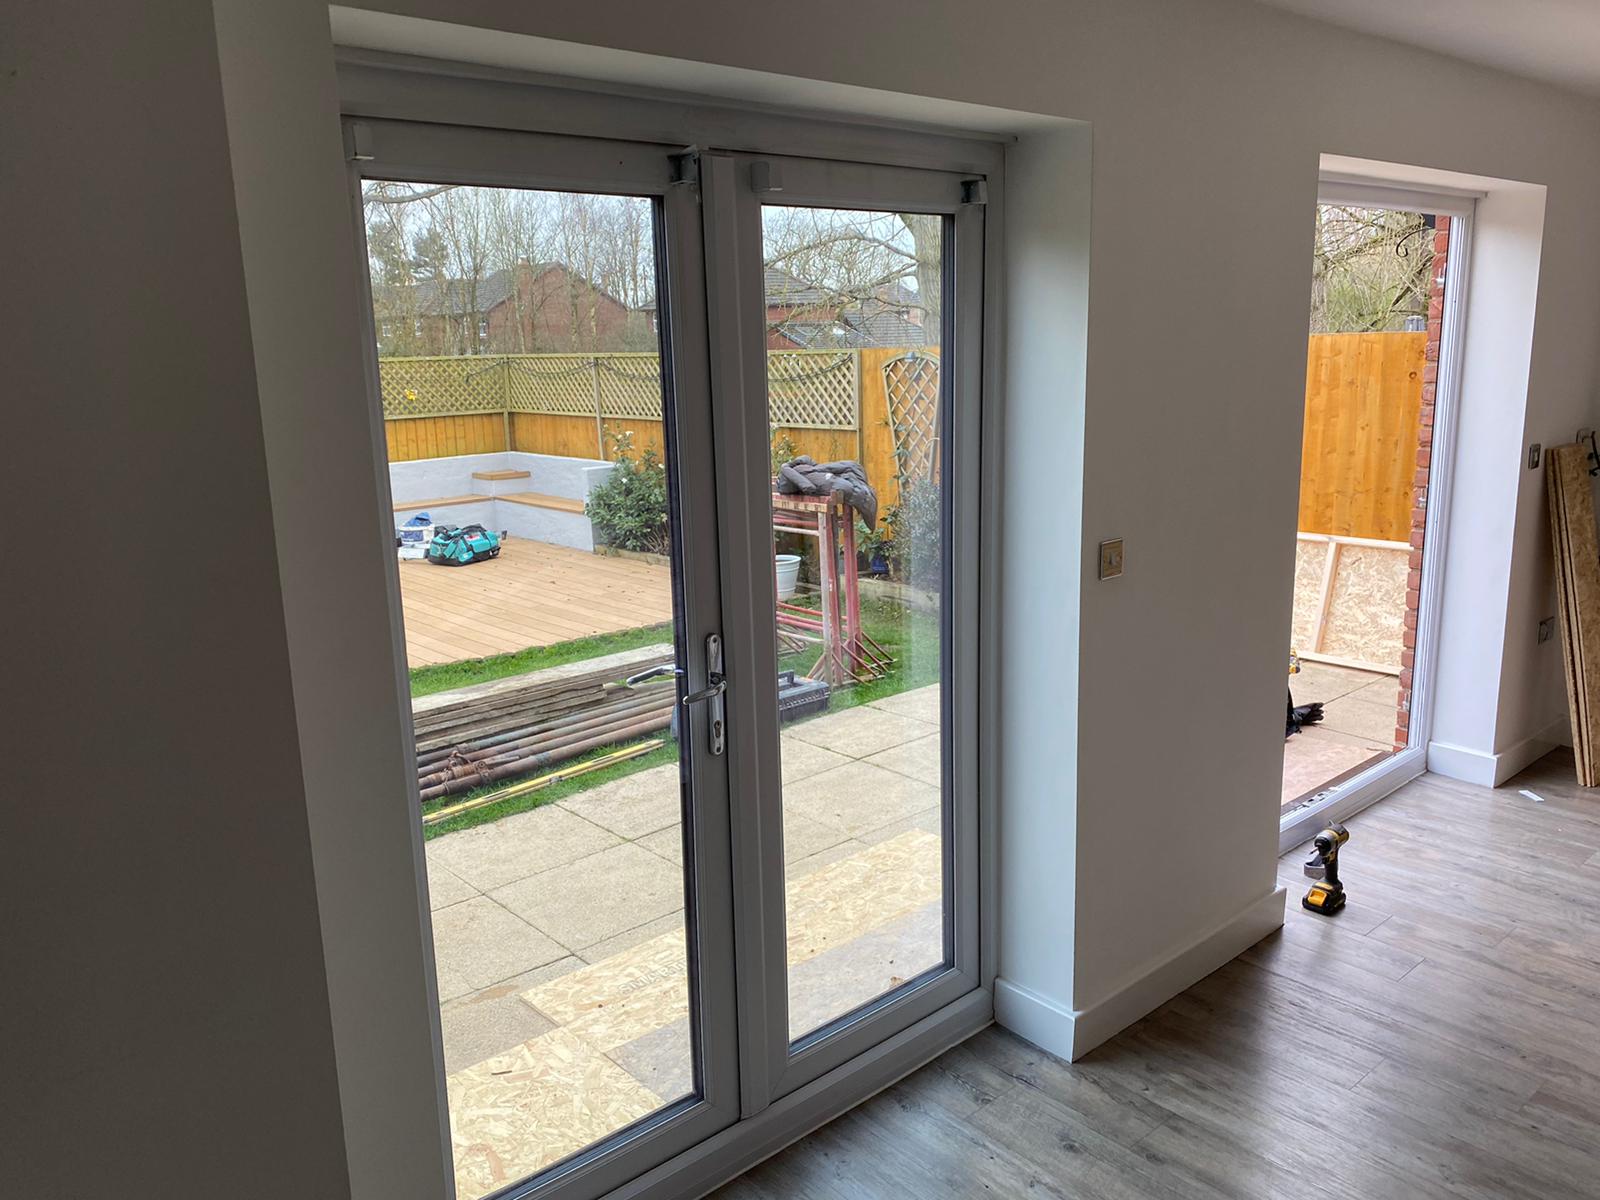
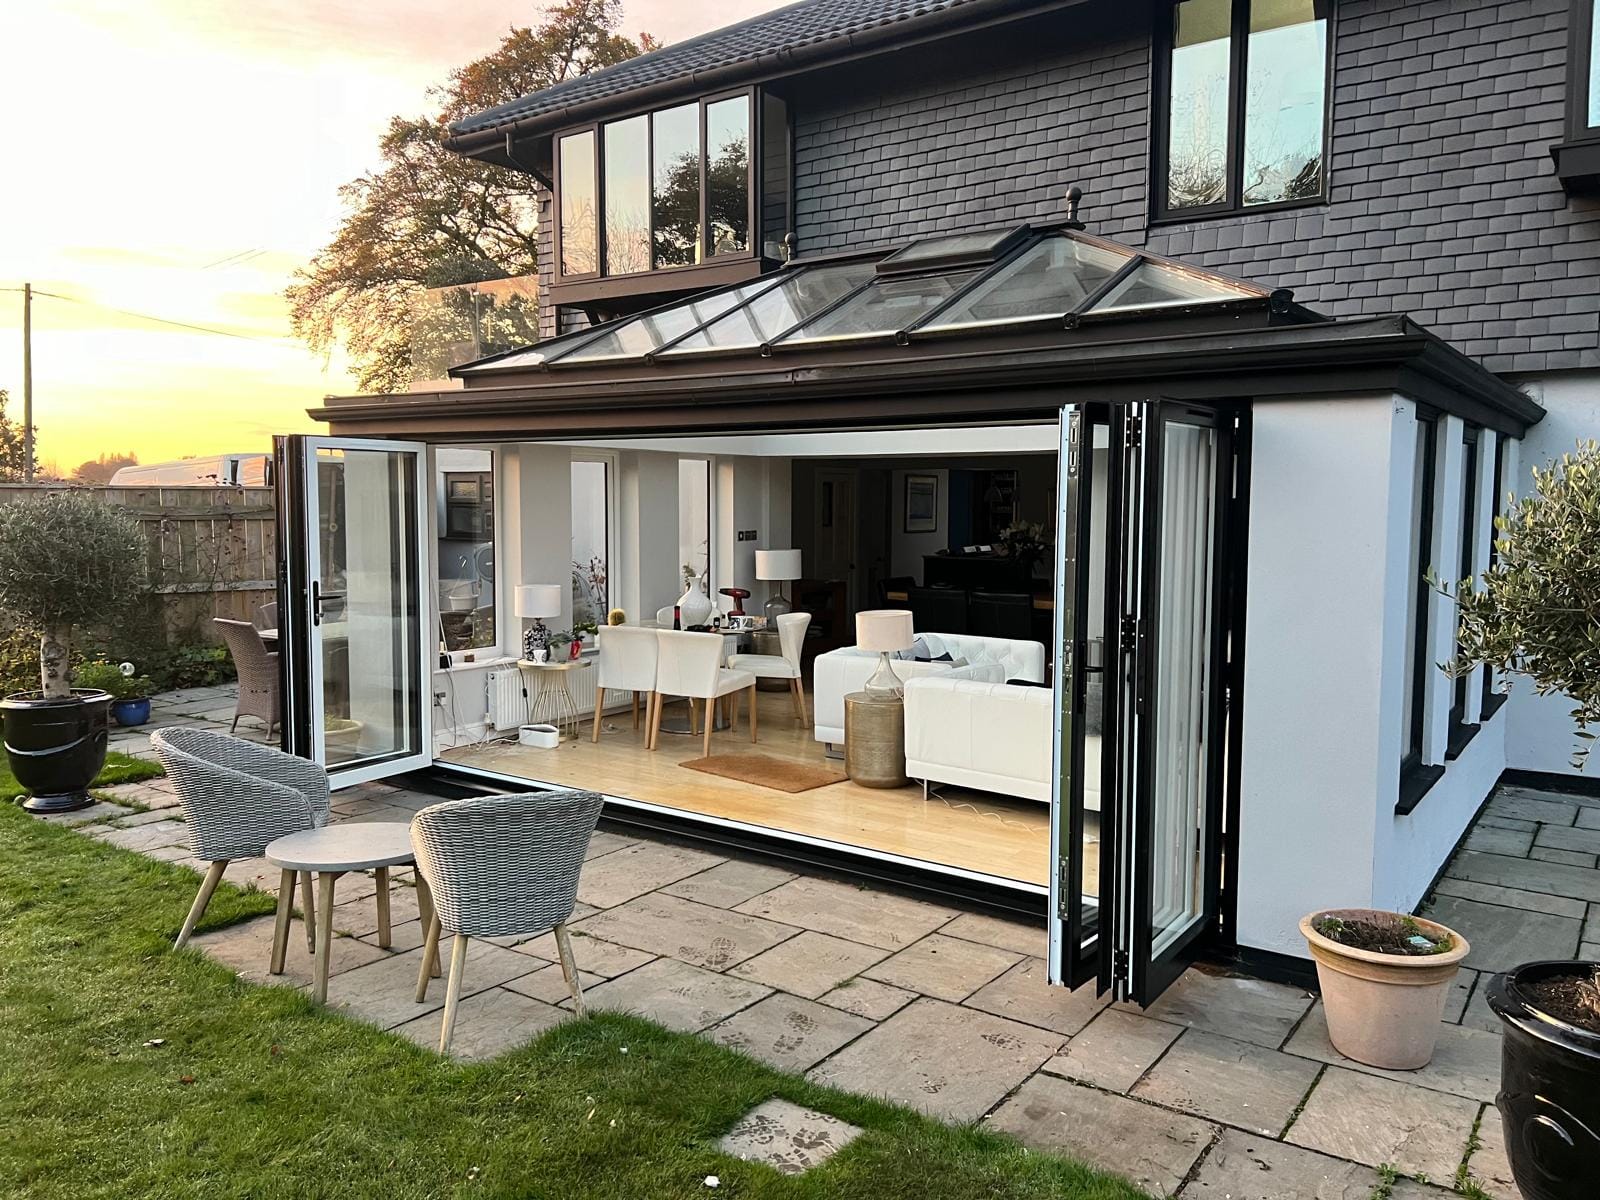
The bi-fold is fitted, levelled and adjusted, the frame is sealed and insulated around the perimeter, and the gear is set so every leaf folds and locks properly.
5. Making good
Reveals plastered, external brickwork made good and pointed, internal floor finish brought up to the threshold, silicone lines cut in. This is the stage that separates a conversion that looks original from one that looks like a conversion.
6. Certification
We’re CERTASS registered, so the glazing installation is self-certified and registered. The structural work is signed off with the engineer’s calculations and, where required, a Building Control completion certificate.